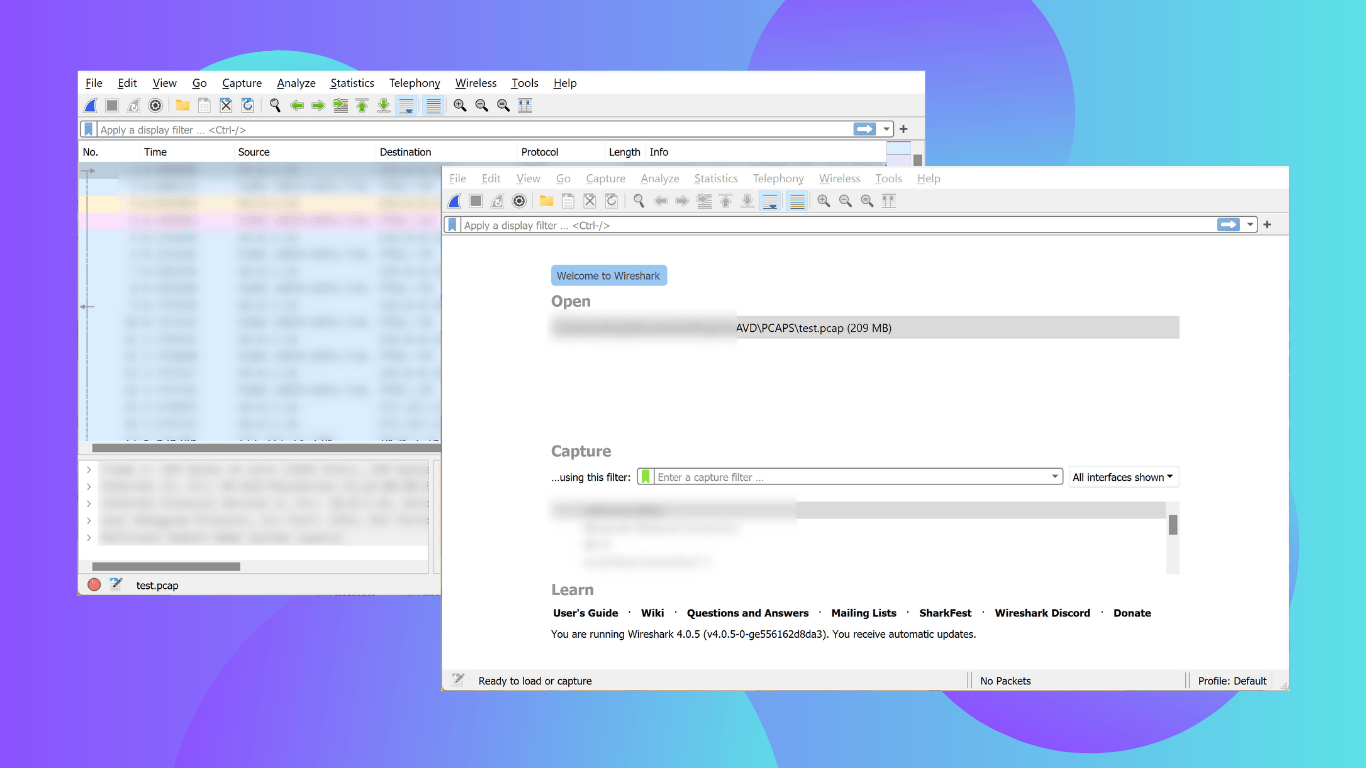
Capture packets on AVDs with Androddump
This article explores packet capturing on Android Virtual Devices (AVDs). It delineates the sequential steps involved, including rooting the AVD, installing TCPdump, and capturing traffic with a Wireshark tool called AndroidDump.
Prerequisites
- Have Android SDK and emulator manager installed.
- Download TCPdump from tcpdump.org.
- Have Wireshark installed. Remember to check androiddump in tools session.
Create an Android Virtual Device (AVD)
The choice of AVD is influenced by its rich online reference materials, cost-effectiveness (compared to Genymotion), and less restrictive nature (compared to WSA).
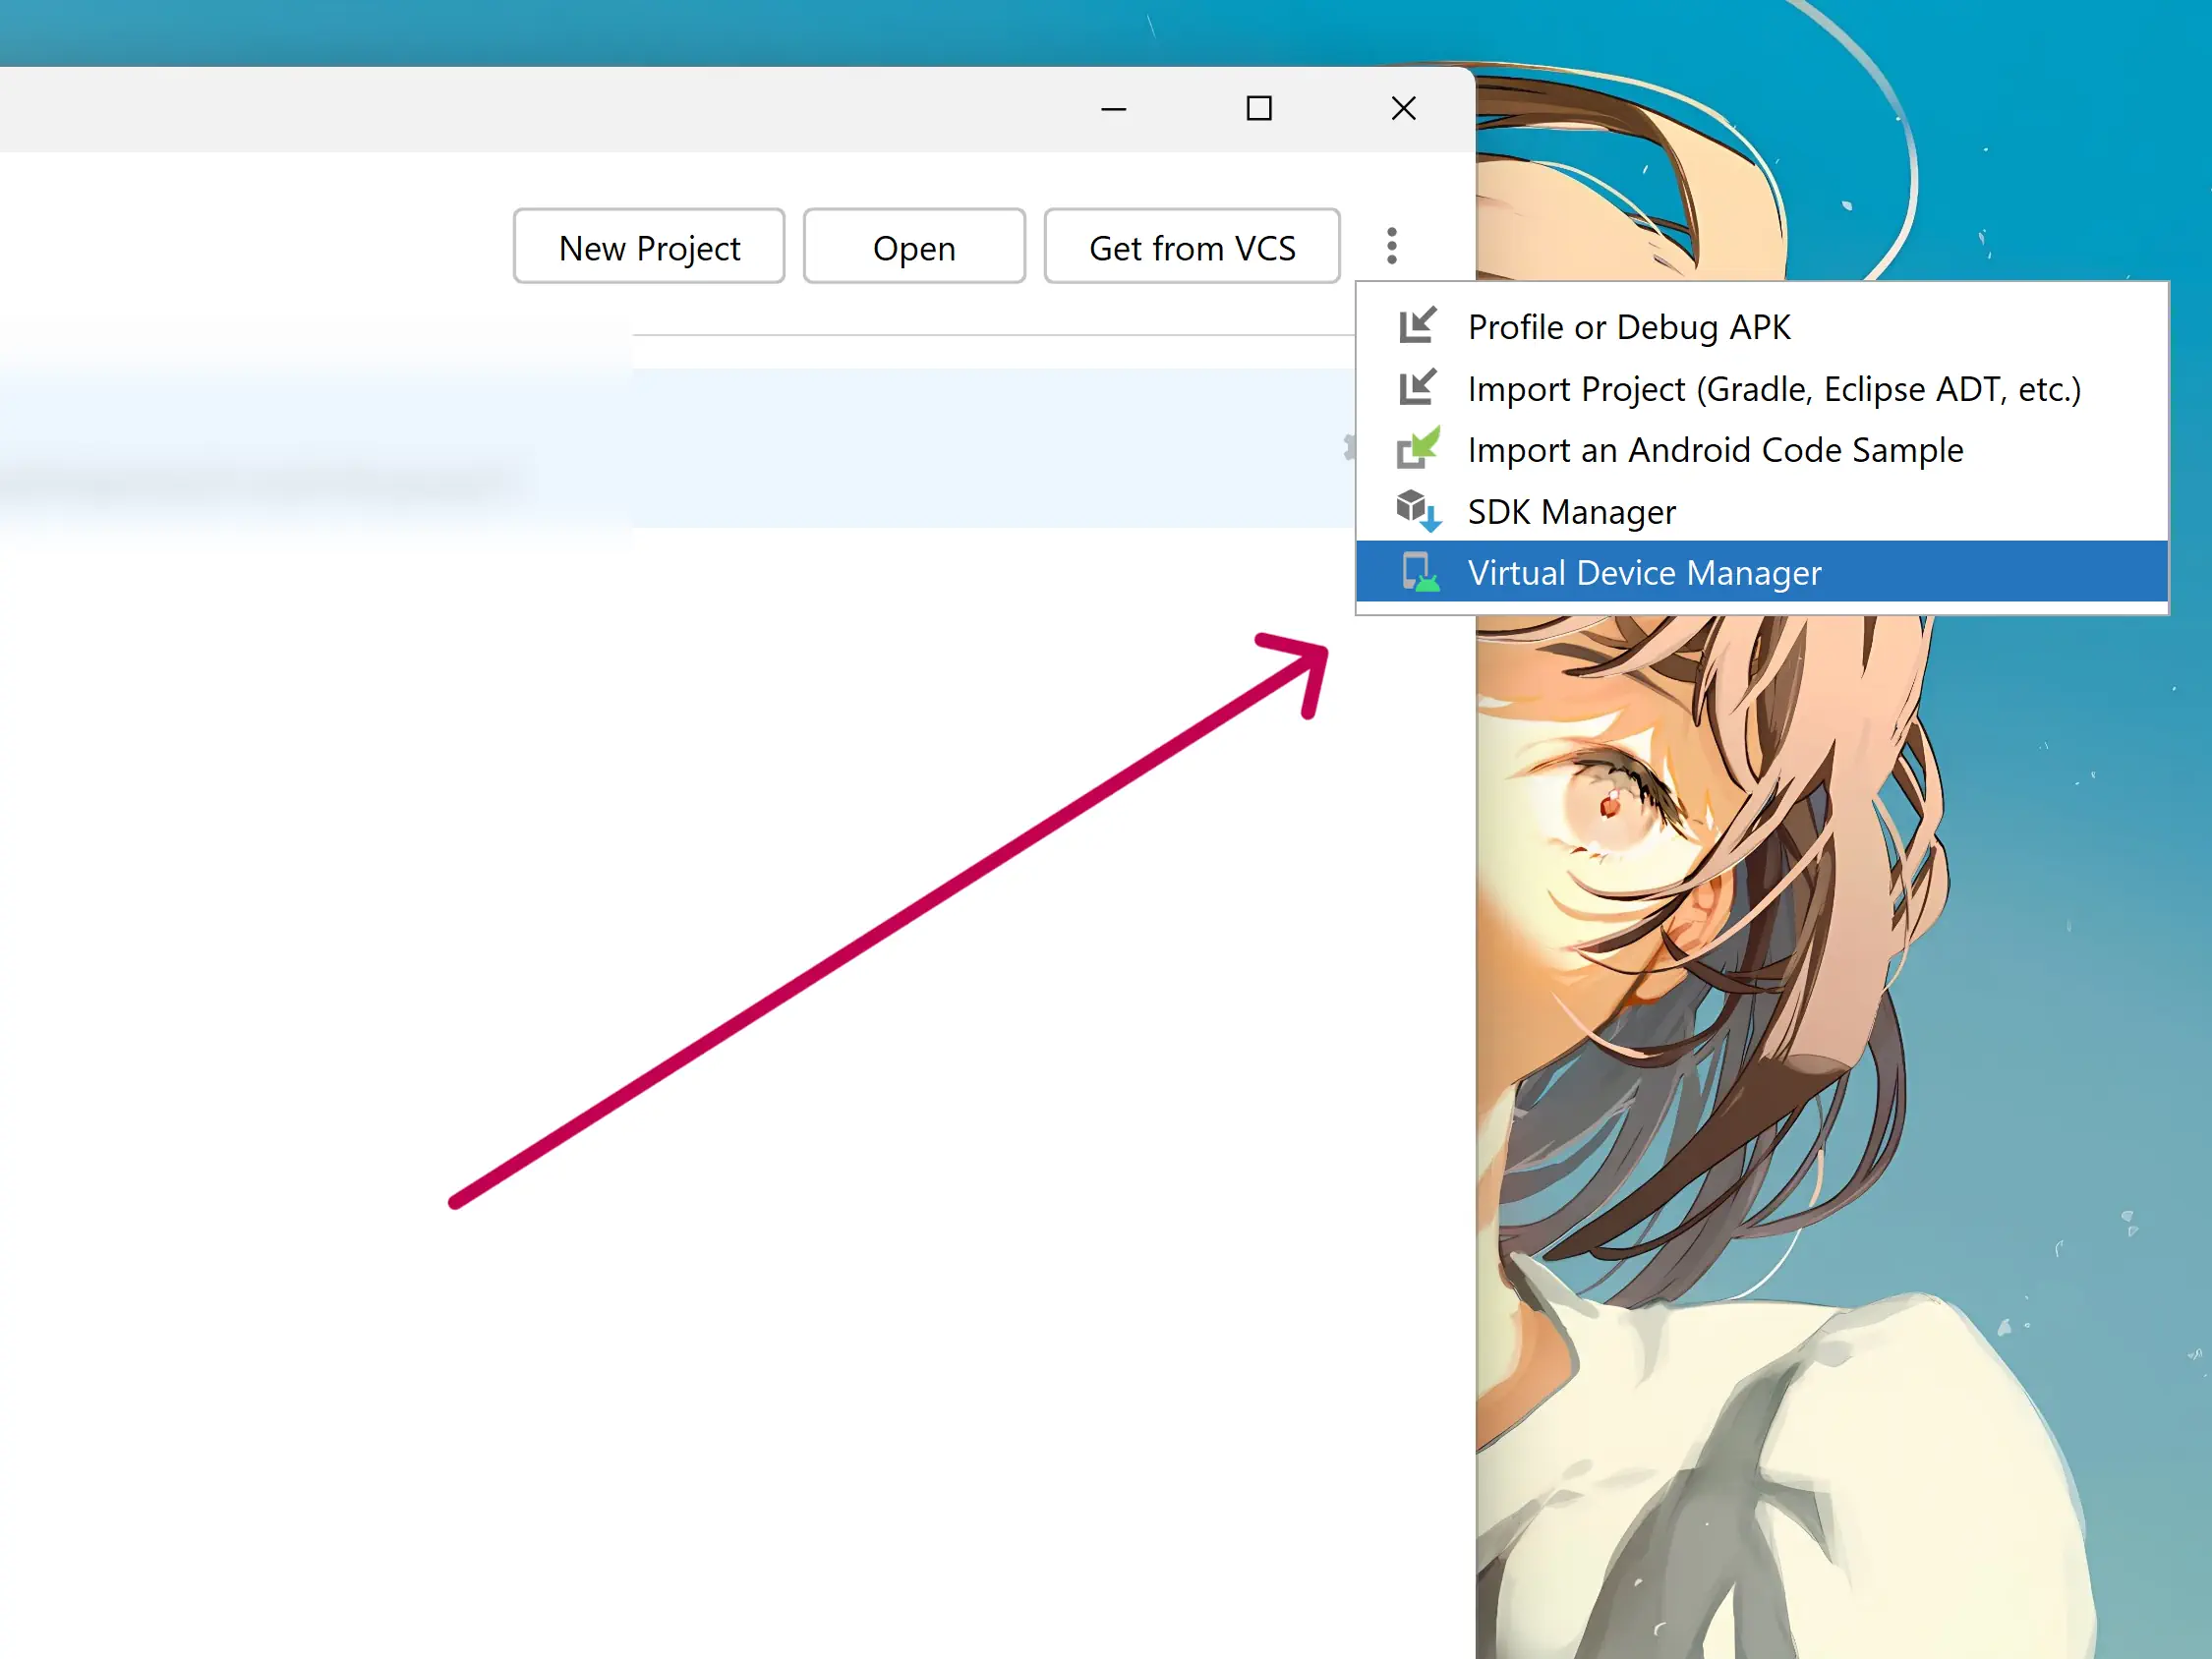
After installing Android Studio, we can manage AVDs via the Virtual Device Manager on the welcome page.
I created an AVD which is based on Pixel 6 Pro X86_64
Or any image without play store. If you choose a device which has play store installed, please refer to rootAVD in the next section, Tiramisu (API33), 4GB RAM with device frame disabled.
For the following process, it is recommended to run and verify the AVD, and then subsequently turn it off.
Root AVDs Without Play Store
Open a terminal and find the AVD you want to modify. Then launch it with the argument -writable-system.
If you cannot invoke the command emulator, please add PATH_TO_ANDROID_SDK/Sdk/tools to your system path. For more information, see the commands listed below.
$ emulator -list-avds
# list of available devices
$ emulator -avd DEVICE_NAME -writable-system
When you see the home screen, you can open a separate terminal window to root the device. It is important to keep the device running during this process.
$ adb root
$ adb shell avbctl disable-verification
$ adb disable-verity
$ adb reboot
# wait the device rebooting
$ adb root
#=> restarting adbd as root
$ adb remount
Extract the TCPdump file you downloaded from tcpdump.org. The file structure should resemble the diagram below.
. # pwd
└───tcpdump
    ├───cmake
    │   └───Modules
    ├───doc
    ├───lbl
    ├───missing
    └───tests
Finally, we should push the whole folder to the Android device.
$ adb push ./tcpdump /system/xbin/tcpdump
# wait until all files are pushed to the device
$ adb shell
emu64xa:/ # this is the prompt
emu64xa:/ whoami
#=> root
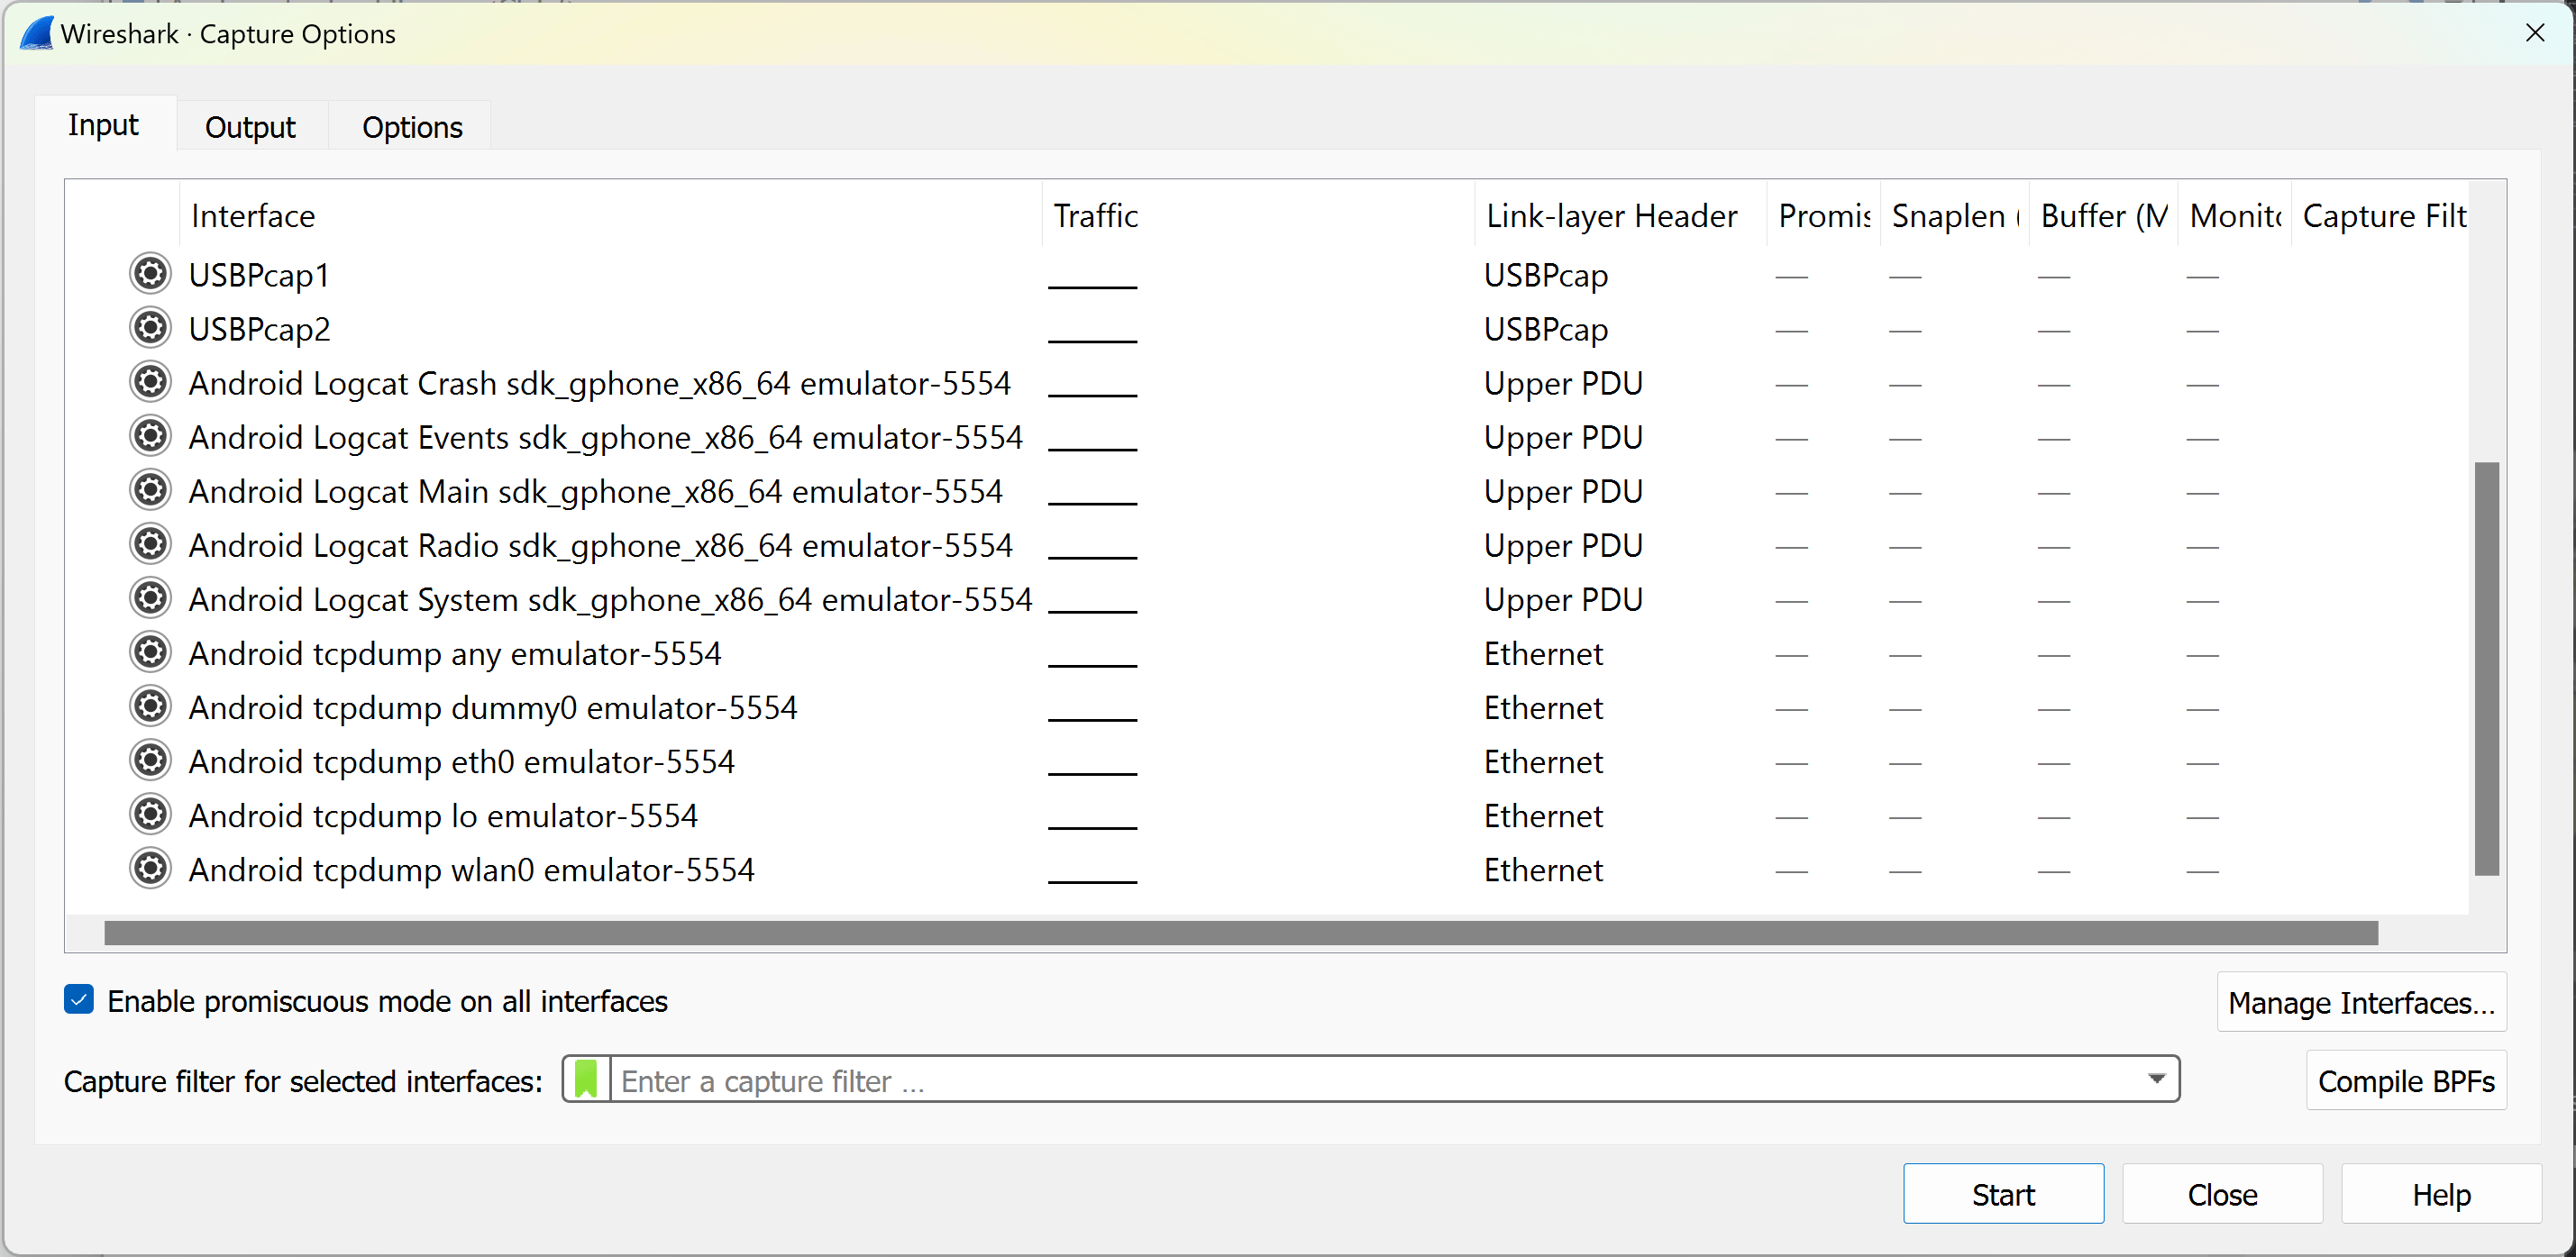
emu64xa:/ tcpdump -D
# list of available interfaces to captureIf you can see Android tcpdump interfaces like below(e.g. Android tcpdump wlan0 emulator-5554), you are free to use Wireshark as per usual.
Postprocessing
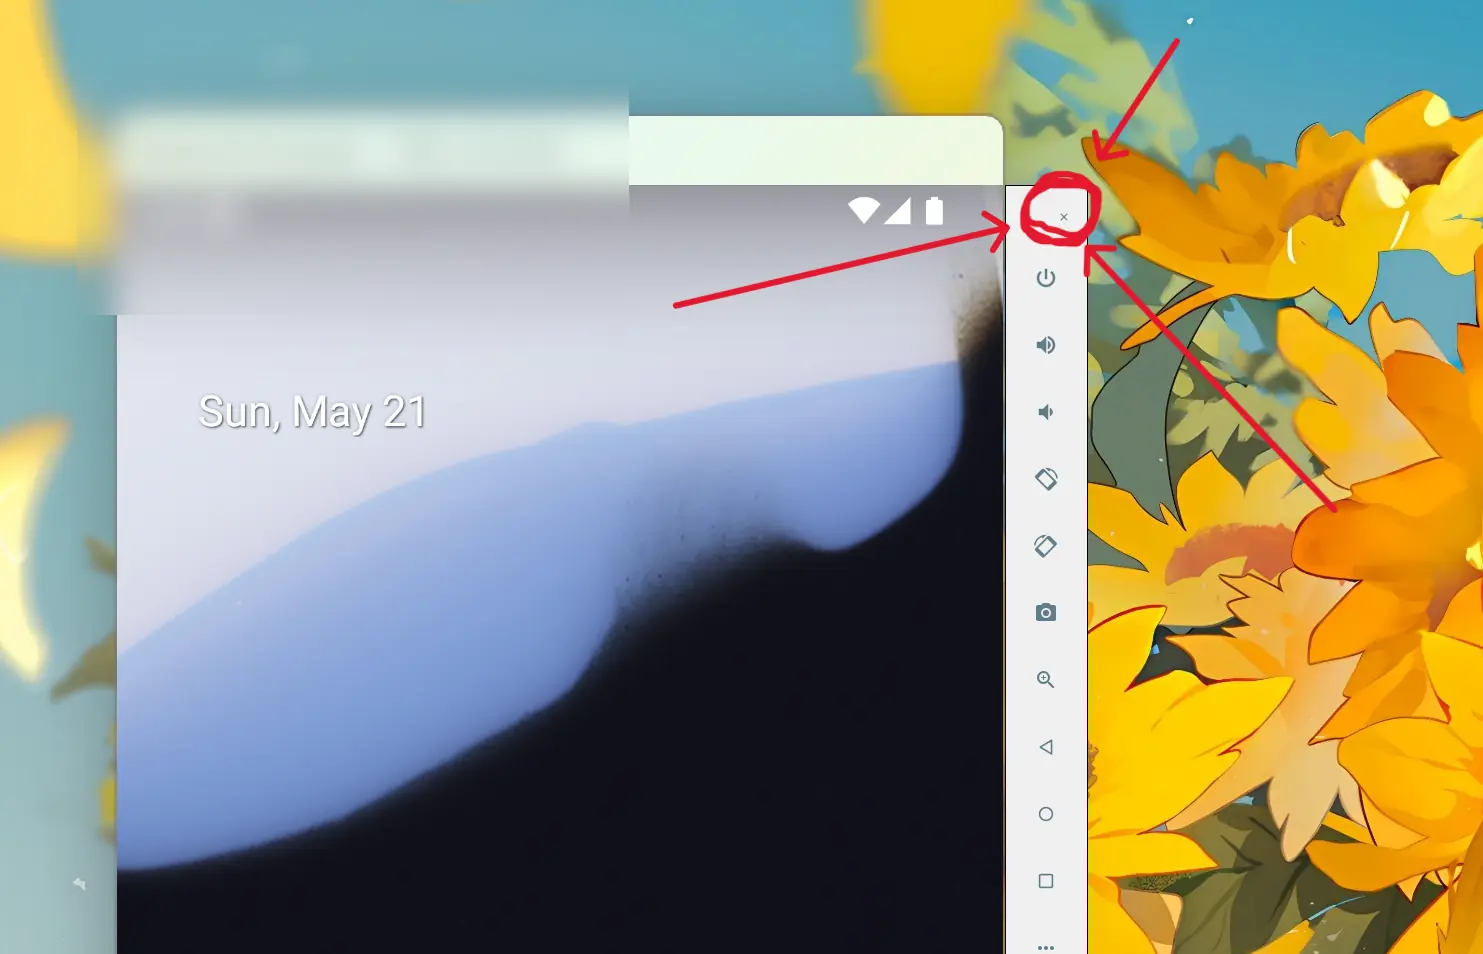
One thing I need to mention is that: do not turn off the AVD using power button. Instead, click the close button on the sidebar and let AVD take a snapshot. Otherwise, all modifications will be reverted.
For the future use of the rooted AVD, you should use the command emulator to boot a writable system as mentioned above and invoke adb root for Wireshark to detect tcpdump.
$ emulator -avd DEVICE_NAME -writable-system
$ adb root
# then open wireshark
Future Work
We can design a customized system image that already includes tcpdump for ease and efficiency in network analysis. This avoids manually installing tcpdump and booting via the commandline.
References
[1]A. Fortuna, “How to install (and run) tcpdump on Android devices,” Andrea Fortuna [Online]. Available: https://andreafortuna.org/2018/05/28/how-to-install-and-run-tcpdump-on-android-devices. May 28, 2018. [Accessed: May 20, 2023]
[2]Tcpdump, “LATEST RELEASES,” TCPDUMP & LIBPCAP [Online]. Available: https://www.tcpdump.org/index.html#latest-releases. Apr. 7, 2023. [Accessed: May 20, 2023]
[3]NewBit, “rootAVD: Script to root AVDs running with QEMU Emulator from Android Studio,” GitHub [Source Code]. Available: https://github.com/newbit1/rootAVD. May 15, 2023. [Accessed: May 20, 2023]
[4]R. Chen, “在安卓模拟器上进行抓包分析,” Rondo的笔记本 [Online]. Available: https://www.rondochen.com/capture-network-traffic-from-android-emulator/. Nov. 09, 2021. [Accessed: May 20, 2023]